Real hardwoods can cost $7 to $18 per square foot installed by a pro, but DIY hardwood flooring can be installed at $2 to $8 per square foot, and some renovators have installed real pine wood floors for under $1.50 per square foot. Yes, you can install, refinish, or restore hardwood floors without breaking the bank if you’re willing to follow the right sequence.
You’ll find out how to select the right tools for the job, install solid and engineered hardwood floors, determine the direction of plank installation, sand and refinish old floors, restore original floorboards, explore budget-friendly options, and how to clean floors without stripping the finish.
Tools and Equipment You Need Before You Start
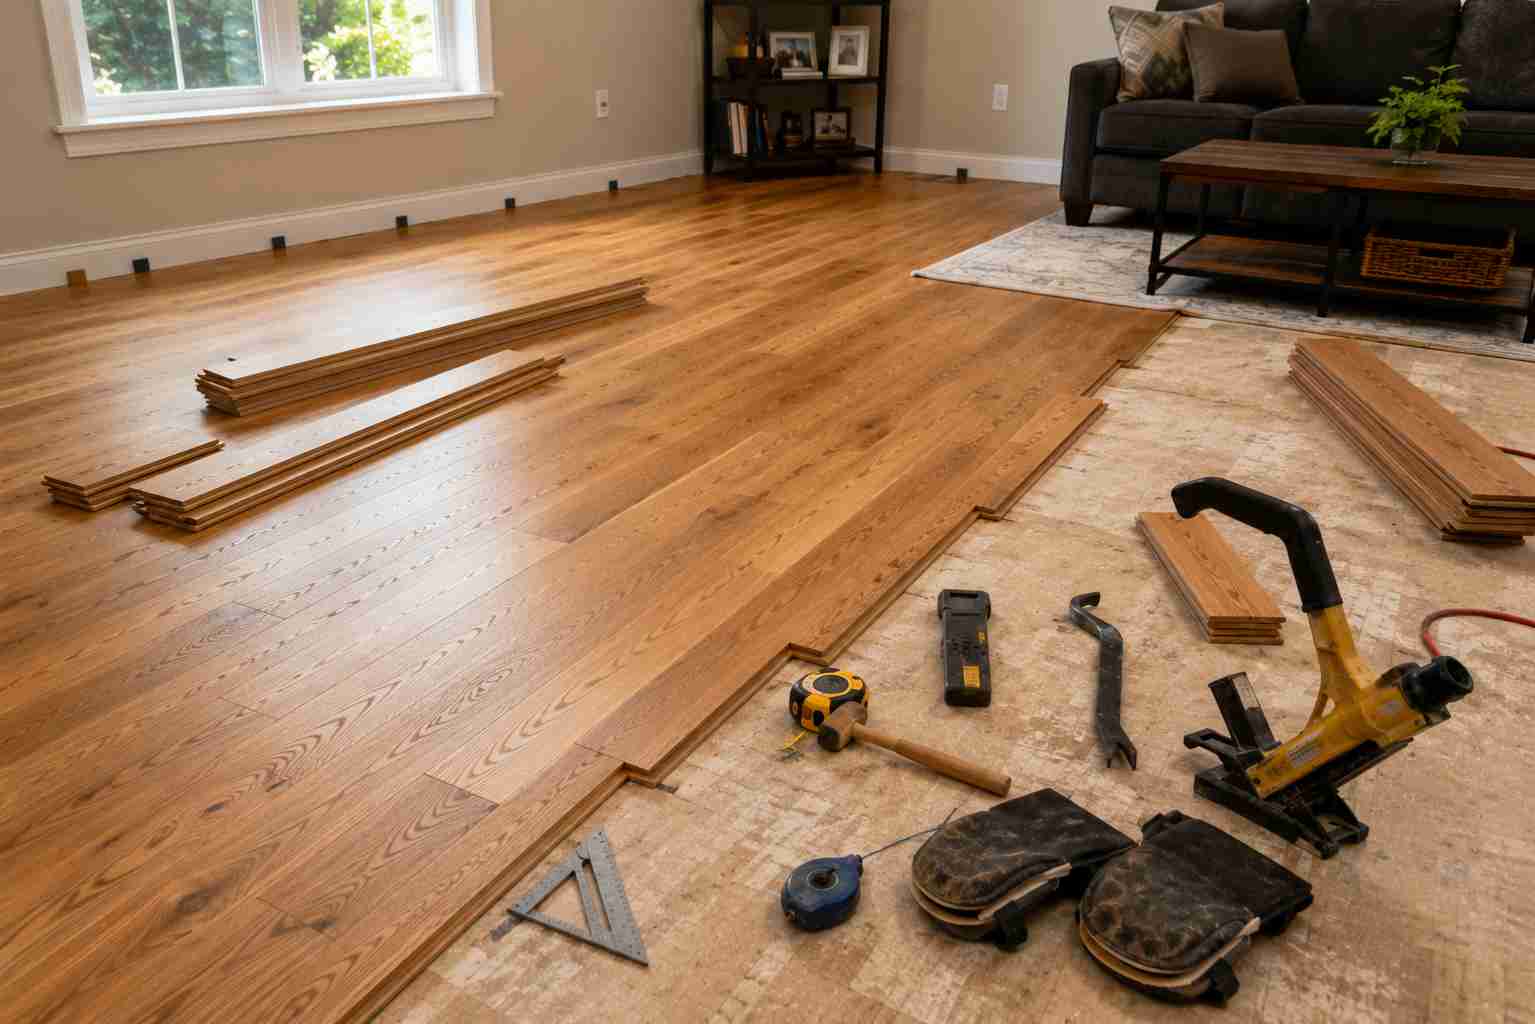
Before purchasing any planks, assemble the hardwood flooring tools and equipment needed for your installation. The quickest route to blow a project’s timeline and budget is to skip tools mid-project.
Core Tools for Every Installation
A tape measure, chalk line, pry bar, moisture meter, level, miter saw, jigsaw, safety glasses, and knee pads are all essential tools for every job. The only way to save your floor is to use a moisture meter (wood subfloors should be below 12%, concrete slabs below 4%).
Engineered Wood Flooring Installation Tools
If using click-lock engineered planks, install spacers, a tapping block, and a pull bar. Glue-down engineered hardwood requires a notched trowel, adhesive, and a floor roller for air-bubbling.
The DIY Hardwood Floor Jack — An Overlooked Essential
The most overlooked tool for the beginner guide is a flooring jack (or board bender). It is designed to clamp onto nails on installed rows and tighten boards that are warped or bowed; otherwise, you will have a battle to nail boards all day long.
DIY Hardwood Flooring Installation: Step-by-Step
The process for installing hardwood floors is essentially the same for either solid or engineered flooring. Professional hardwood floor installation standards help maintain quality and prevent common installation issues.
Prep the Subfloor and Acclimate Planks
Clear away old flooring and baseboards, use leveling compound to fill in dips, and allow planks to acclimate in the room for 48-72 hours. This one step will eliminate most future buckling and gapping.
Choose Nail-Down, Glue-Down, or Floating
Nail-down suits are installed on a wood subfloor with hardwood. Concrete is the best surface for glued-down engineered hardwood. The quickest way for DIY engineered hardwood flooring installation is floating click-lock, which requires no nails or adhesive.
Lay, Stagger, and Secure
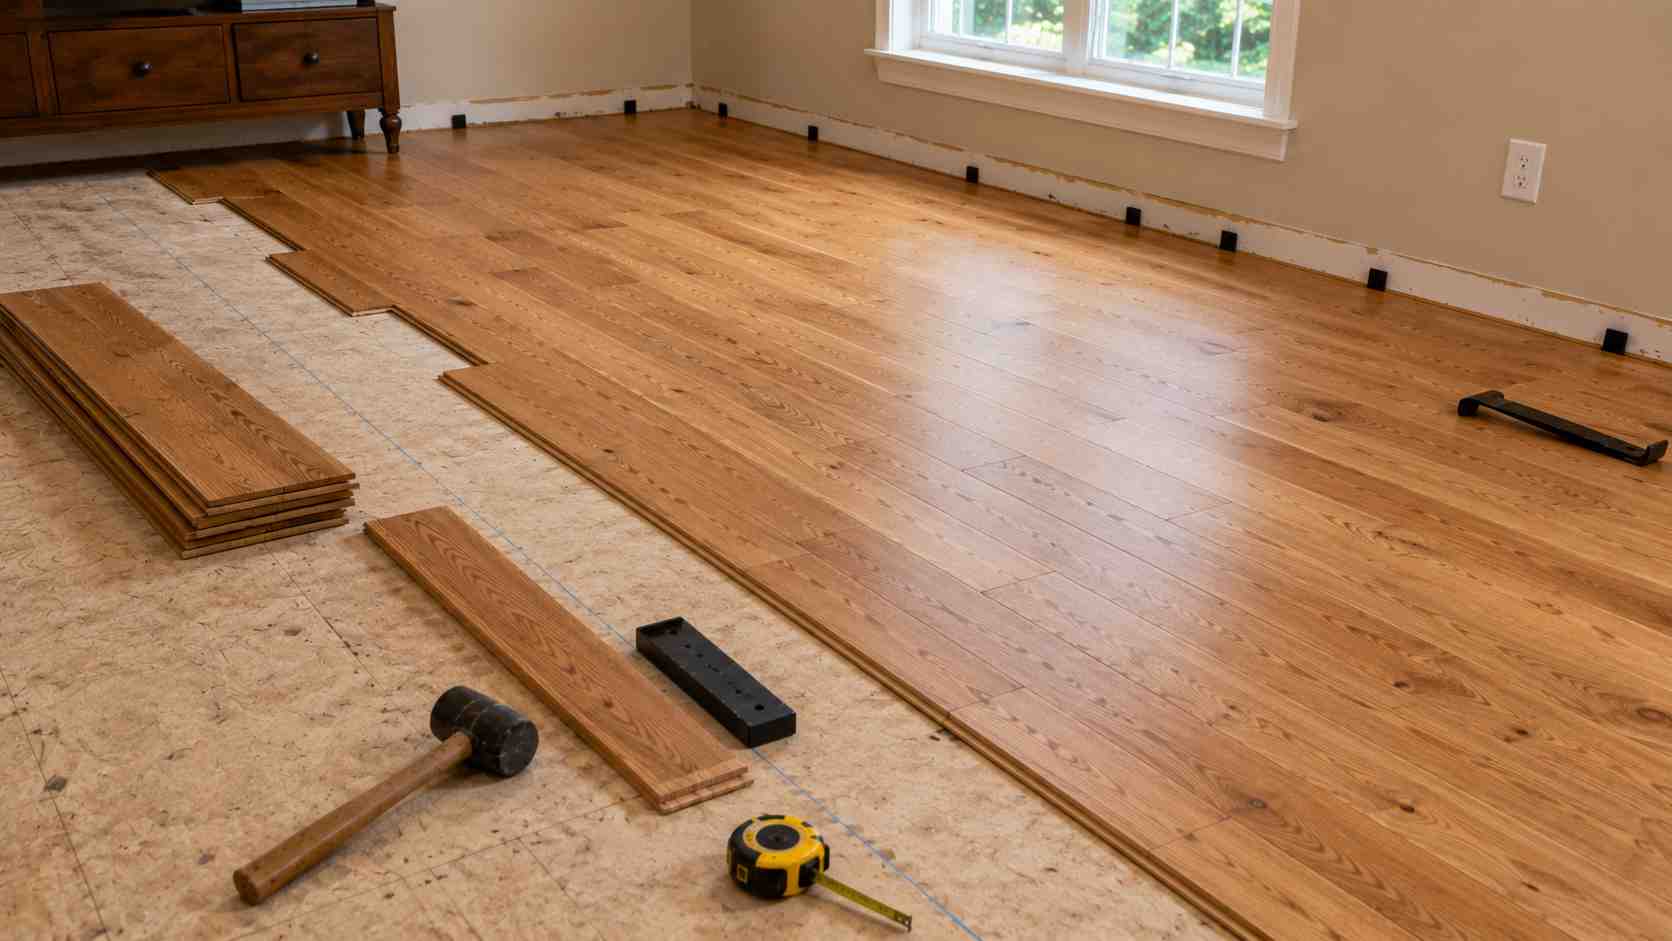
Draw a chalk line, add the first row of grooves side by side with the wall and offset end joints by at least 6 to 8 inches between rows. Before securing each board, use a tapping block (and a hardwood floor jack for tight rows).
Trim, Finish, and Reinstall Trim
Nail baseboard and transition strips to the wall (not through the floating floor) and cut the last rows to allow for a 1/2″ expansion gap.
Which Way Should Flooring Run? Direction and Layout Rules
The most searched, and most ignored, question in DIY books is: which way to lay hardwood?
What Direction Should Flooring Run?
Planks should be installed parallel to the longest wall or the main light source in most homes and in the same direction as the joists below, for structural support on wood subfloors. This provides a visual sense of flow and makes rooms appear bigger.
Horizontal vs. Vertical Flooring
Planks that run along a hallway or open area (across, or horizontally, from the door) lengthen narrow rooms, and planks perpendicular to a door open up a small room. Diagonal designs are dramatic but result in 12-15% material waste.
DIY Hardwood Floor Refinishing for Beginners
A major part of any diy hardwood floor refinishing project will be refinishing the old floor instead of installing a new one, and this is often less expensive than a new installation.
DIY Hardwood Flooring Sanding
Use a drum or orbital sander and sand from the coarser to the finest grits (usually 36, 60, then 100-grit) with the grain. Hand-edge sand, and vacuum between sanding passes to prevent dust from getting into the next pass.
How to Restore Original Hardwood Floors
Remove staples, fill in gouges with wood filler, and use a nail set to test for protruding nails before sanding. This will help maintain the natural footing and flammability properties of natural wood flooring that cannot be achieved with new flooring options.
Diy Hardwood Flooring Restoration for Damaged Boards
When water damage or deep scratches are present, spot-sand the boards, apply matching stain, and blend with a full room screen-and-recoat (not a full strip-down) to speed up the process and reduce the impact on refurbishing sound floorboards.
DIY Hardwood Floor Buffing
After refinishing, buff with a rented buffer and a maroon or white pad between coats of polyurethane. Buffing will eliminate dust nibs and enhance adhesion to obtain a smoother and more durable finish.
DIY Hardwood Flooring Cost: A Realistic Budget Breakdown
The cost of DIY hardwood flooring can vary greatly depending on the material and type of hardwood flooring you purchase. The first step in diy hardwood flooring on a budget is understanding where the savings lie.
| Cost Factor | DIY Budget Route | Standard DIY | Professional Install |
| Material (per sq ft) | $0.99–$1.50 (unfinished pine, clearance) | $3–$6 (mid-grade oak) | $3–$6 (same material) |
| Tools/Rental | $150–$400 (one-time) | $200–$500 | Included |
| Finish/Stain | $50–$150 | $100–$200 | Included |
| Labor | $0 (your time) | $0 | $4–$10/sq ft |
| Total per sq ft | $1.20–$2.50 | $3–$8 | $7–$18 |
The largest savings occur when purchasing unfinished clearance-grade solid wood and finishing it at home, which can make solid wood under $1.50 per square foot.
Cleaning and Maintaining Your DIY Hardwood Floors
The first step in safeguarding your investment is to use the proper DIY hardwood flooring cleaning solution and to have a regular cleaning regimen.
The Best DIY Hardwood Floor Cleaning Solution
For streak-free, chemical-free cleaning, mix 1/4 cup of white vinegar, a few drops of dish soap, and one gallon of warm water. Don’t use steam mops or too much water, as this leads to cupping over time due to water permeating seams.
Weekly DIY Hardwood Floor Cleaning Routine
Sweep or dry mop daily to clear grit that can scratch finishes; damp mop once a week, and use felt pads under furniture. Re-coat the floors every 3-5 years with polyurethane in high-traffic areas to maintain a new look.
FAQ: People Also Ask
How much does DIY hardwood flooring cost per square foot?
Budget DIY installs run $1.20–$2.50 per square foot using clearance-grade unfinished wood, while standard DIY projects average $3–$8 per square foot including tools, versus $7–$18 professionally installed.
What direction should flooring run in a room?
Run planks parallel to the longest wall and, on wood subfloors, perpendicular to the floor joists for structural strength. This maximizes visual flow and natural light reflection.
Can I install engineered hardwood myself?
Yes, DIY engineered hardwood flooring installation using click-lock floating floors is considered the easiest method for beginners since it requires no nails, glue, or specialized flooring nailer.
How do I restore old wood floors without replacing them?
Sand through 36-, 60-, and 100-grit passes, fill gaps and gouges, then apply stain and 2–3 coats of polyurethane. This restores original character far cheaper than replacement.
Do I need a hardwood floor jack?
A floor jack isn’t mandatory, but it’s essential for straightening bowed boards during nail-down installs, especially with reclaimed or lower-grade lumber that isn’t perfectly milled.
What’s the best homemade hardwood floor cleaner?
A mix of water, a splash of white vinegar, and a few drops of dish soap cleans effectively without dulling polyurethane finishes or leaving the residue that harsher store-bought cleaners can leave behind.
How long should hardwood acclimate before installation?
Let boxed planks sit in the installation room for 48–72 hours minimum so the wood adjusts to indoor humidity, reducing the risk of gapping or buckling after installation.
Is DIY hardwood flooring cheaper than professional installation?
Yes, typically by 50–70%. DIY eliminates labor costs, and buying unfinished wood plus finishing it yourself offers the deepest savings versus prefinished or professionally installed flooring.
Conclusion
DIY hardwood flooring is a time-consuming project, but it is worth it. The three most important things to remember are:
- You should invest in the right tools, such as a moisture meter and floor jack, before you begin
- When installing, always allow the floors to acclimate and leave spaces for expansion
- Refinishing or restoring existing floors is often the quickest way to get real hardwood at a lower cost than new installation.
It doesn’t matter if you are installing engineered planks in a condo or restoring century-old boards; it is a process that can be done with some careful prepping and the right sequence.
Ready to start your project? Measure your space, build your tool list from this guide, and take the first step toward beautiful, budget-friendly DIY hardwood flooring this weekend.