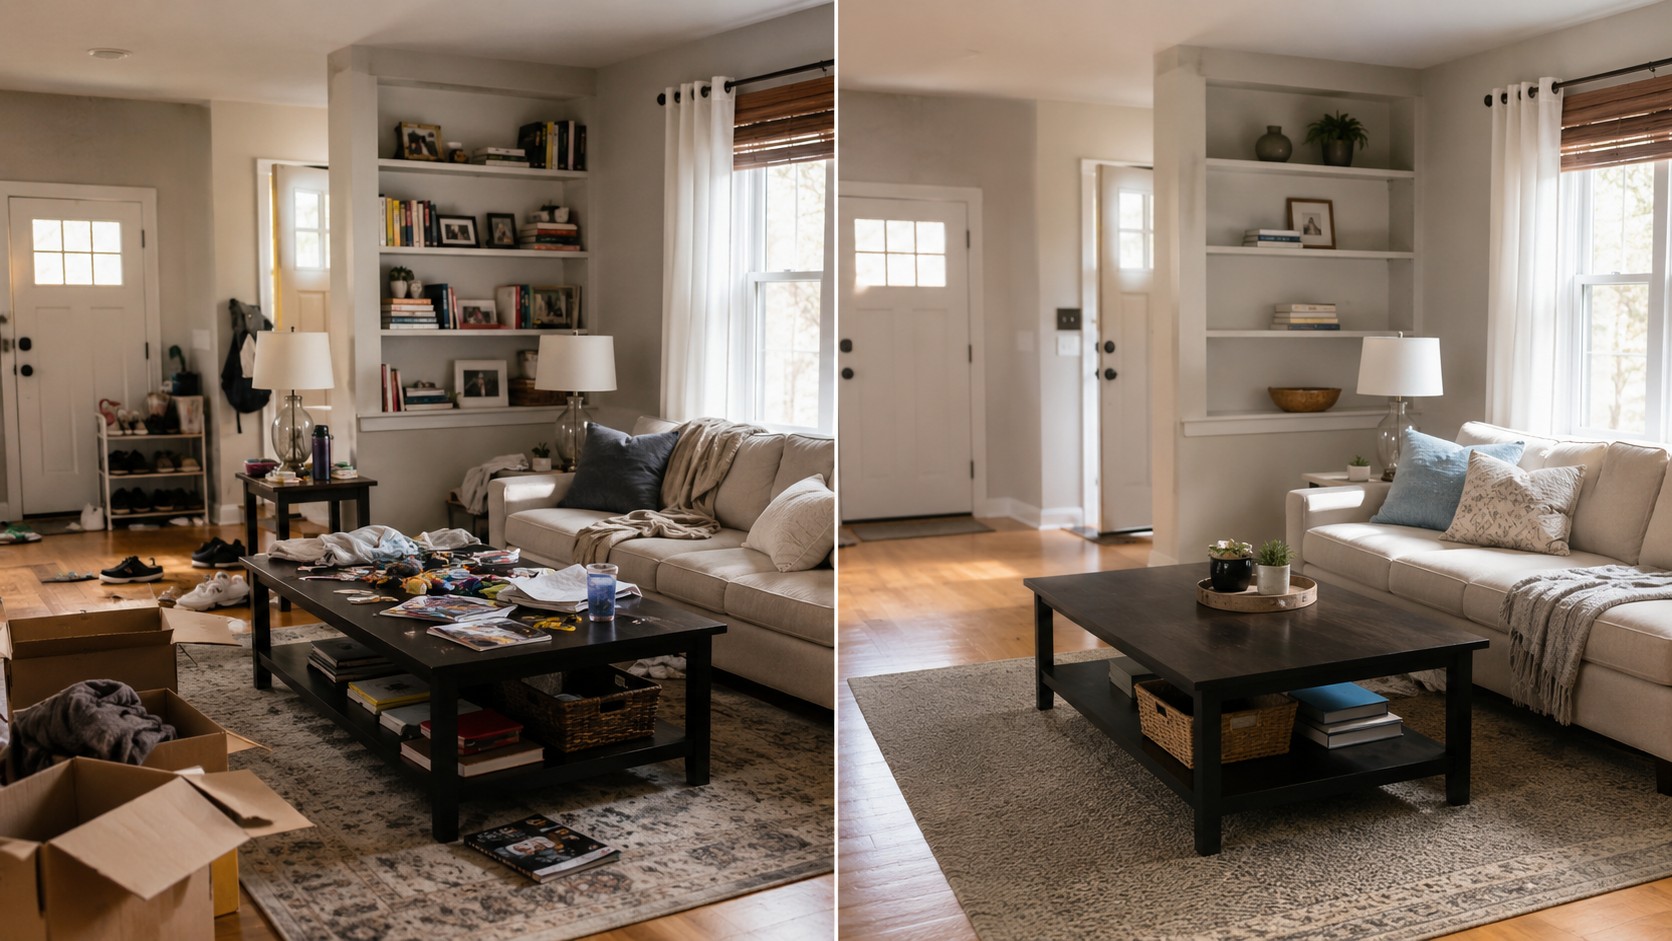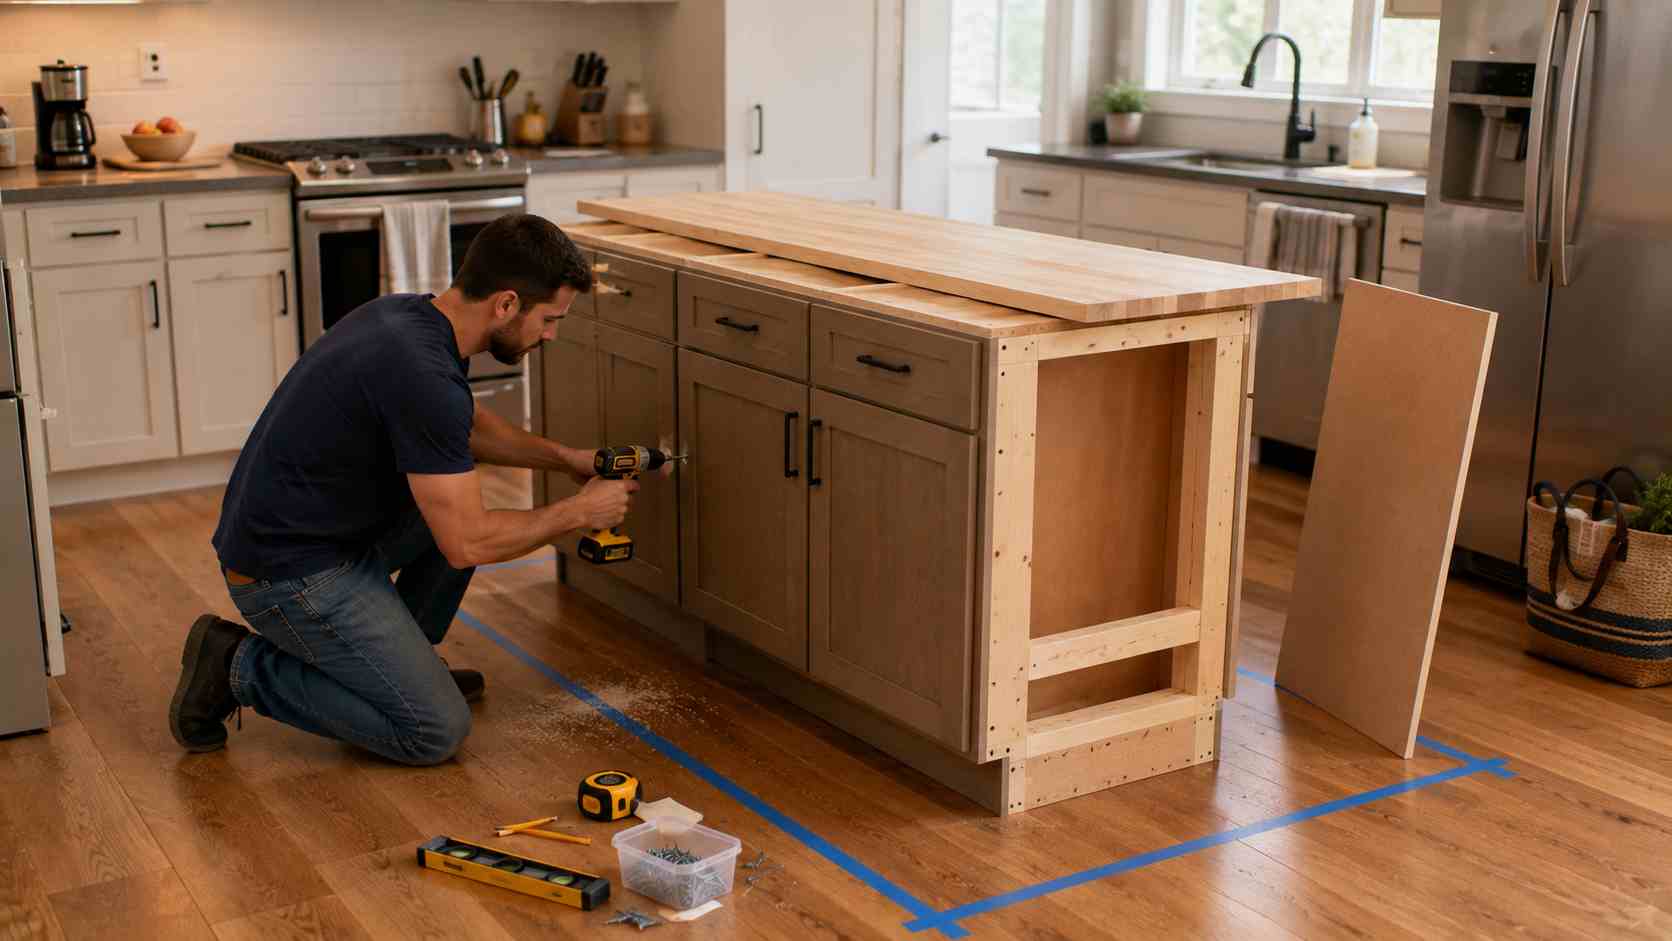
An island from the cabinet shop is a very common feature in kitchens, and almost 80% of home buyers consider it a “must-have” feature, but it can easily cost $3,000–$10,000. The good news? You don’t need to hire a contractor or have a carpentry degree to learn how to make an island for the kitchen.
From a complete renovation budget to a weekend and a pile of base cabinets, there is a way to build your project that will work for your budget, your space, and your skills. You’ll learn how to plan your layout, assemble an island from an existing collection of base cabinets, save money while not compromising on construction, install seating and a cooktop, select a countertop, and decorate to make it look designer showroom quality!
Why a Kitchen Island Matters
A kitchen island is a freestanding countertop or cabinet unit placed in the center of a kitchen to provide extra workspace, storage, and seating. It can make meal preparation easier while creating a convenient spot for serving or gathering. With the right hacks for kitchen organization, such as built-in drawers, shelves, and designated zones, a kitchen island can add function without becoming another cluttered surface.
Planning Your Kitchen Island: Layout, Size & Design Plans
All great islands begin with a drawing, not in the garage. This is the biggest mistake people make when building a DIY island and the reason many end up too large, too small, or difficult to walk around. Good DIY kitchen organization starts with planning the island’s size, storage, and layout before you start building.
Kitchen Layout Ideas With an Island
The classic “kitchen work triangle” (sink, stove, fridge) remains the same; the island should not obstruct it. Here are some of the most popular kitchen layout ideas with an island:
- L-shaped layout + island: Ideal for square or rectangular rooms, the island creates a functional square.
- Galley layout + island: Only works in wider galley kitchens (11+’) with 42-48″ of clearance on either side.
- U-shaped layout + island: For bigger kitchens, the island acts as the fourth wall of the prep area.
Leave at least 36″ of clearance around all sides, and 42″-48″ on any side where there is seating or a dishwasher, or heavy foot traffic. This is a bit more generous than the 36″ minimum that most guides recommend, and is the number contractors actually build to.
Sketching an Island Kitchen Layout Drawing
Before purchasing any boards, create a simple island kitchen layout drawing:
- Find the area of the kitchen, including all walls.
- Indicate the position of plumbing, gas lines, and floor vents.
- Sketch the shape of the island to scale (graph paper or use a free application, such as SketchUp or RoomSketcher).
- Cut the “paper plan” and then walk it on the floor with painter’s tape to see if there are clearance issues before cutting wood.
Small Kitchen Islands for Tight Spaces
If you’re thinking of how to make a small island for kitchen use in an apartment or galley kitchen, you should look for:
- A footprint of less than 40″ x 24″ allows for 36″ of clearance in an 8′-wide kitchen.
- One row of base cabinets instead of two rows (which makes cabinet depth 48″).
- A fold-down or slide-out counter extension for extra workspace use when needed without a permanent footprint.
For small kitchens, combining a compact island with smart storage solutions can help maximize every inch of available space. You can also organize a small kitchen pantry to create additional storage capacity without making the kitchen feel crowded.
How to Build a Kitchen Island From Scratch (Step-by-Step)
For those who have the time and tooling skills to build their own kitchen island, it is the most flexible option; there is no compromise, no time constraints, and you have a custom size and storage.
Materials & Tools You’ll Need:
- 2×4 lumber (for base frame)
- 3 / 4” plywood (for the platform and box construction)
- Plywood/MDF for side panels
- Wood screws, L brackets, construction adhesive
- Circular saw, or table saw, drill/driver, level, stud finder.
- Butcher block, laminate, or stone countertop of choice.
Build the Support Base
Cut a rectangle with 2x4s that is the same width and length as the finished footprint, including countertop overhang. Use L-brackets to anchor the frame to the subfloor to prevent the island from moving when leaned on- an item that every shaky DIY island overlooks.
Assemble and Secure the Structure
Construct basic plywood boxes (or install your base cabinets, below) and attach to the 2×4 structure. To avoid the countertop flexing or boxes racking over time, a center support wall or stud partition should be added to the wider islands (more than 30″).
Add the Toe Kick and Side Panels
Use a recessed toe kick (usually 3-4″ deep and 3″ overhanging the base) and fill exposed sides with matching plywood, MDF, or shiplap panels. This one little trick will make the difference between a “furniture piece” look and a “built-in” look.
How to Make a Kitchen Island Out of Base Cabinets
If you’re a DIYer, the fastest way to learn how to make a kitchen island out of base cabinets is to assemble base cabinets to create one rather than building cabinetry from raw lumber.
Choosing the Right Cabinets
Stock or ready-to-assemble (RTA) base cabinets (from IKEA, big-box stores, or local cabinet shops) are typically 24″ deep and 12″ to 36″ wide, and cabinets can be mixed and matched to reach the desired island length, while filling in gaps with 12″ or 15″ wide filler strips (which also create convenient chases for electrical wiring) will help close small gaps.
Depth, Overhang & Seating Calculations
| Island Depth Configuration | Total Depth | Best For |
| Single row of base cabinets | 24″ | Small kitchens, no seating |
| Base cabinet + overhang for seating | 24″ + 12–15″ overhang | Compact eat-in islands |
| Two rows of base cabinets back-to-back | 48″ | Large islands, storage on both sides |
| Base cabinet + wall cabinet back-to-back | 39″ | Mid-size islands needing extra depth |
A countertop overhang of 12″ minimum allows knees to tuck under a stool; 15″ is considerably more comfortable for adults sitting for extended meals.
Drawers vs. Doors
Drawers are better than doors for everyday storage items because you can see and access everything that is stored without having to kneel; for bulky items that are not used very much, such as a stand mixer or roasting pan, use a cabinet at the front of the door.
Budget-Friendly and No-Cabinet Island Options
Not all kitchens require (or can accommodate) a complete island cabinet. These three methods provide a solution to the cost, weight, and commitment.
How to Build a Kitchen Island Without Cabinets
Learning how to build a kitchen island without cabinets opens up lighter, faster builds:
Open shelving frame: Basic wood frame with open shelves rather than enclosed cabinet boxes; inexpensive, fast, and ideal for holding cookbooks or baskets.
Repurposed furniture: An old dresser, farmhouse table, or bar cart featuring a cutting board-style surface.
Butcher block on furniture legs: Screw pre-made table legs directly into a plywood or butcher block top for an instant island with zero box construction.
How to Build a Kitchen Island on a Budget
- Avoid custom or semi-custom lines; reduce costs by 40-60% with RTA cabinets.
- Consider laminate or budget butcher block top over natural stone.
- Avoid installing an electrical outlet unless local code calls for it (check before installing; some localities require an electrical outlet on islands larger than a certain size).
- Buy used or floor model cabinets at large stores.
How to Make a Portable Island for a Kitchen
If you are renting or might even want to move your kitchen setup from one location to another, you will need to know how to make a portable island for kitchen use by creating a unit on locking casters rather than anchoring it to the floor:
- Select heavy-duty locking casters that can handle at least 2x the weight of the finished island.
- The footprint should be less than 36″ wide to fit through common doors.
- Don’t have built-in plumbing or electrical connections, as this will need the island to be secured to its spot.
Comparing Your Build Options
| Method | Typical Cost | Skill Level | Time | Best For |
| From scratch (custom lumber) | -$$ | Advanced | 2–4 weekends | Full customization |
| Base cabinets (RTA/IKEA) | -$ | Beginner–Intermediate | 1–2 weekends | Most homeowners |
| No-cabinet / furniture hack | −$ | Beginner | 1 day–1 weekend | Renters, small spaces |
| Portable/rolling island | −$ | Beginner | 1 day | Apartments, flexible layouts |
Countertops, Seating & Cooktop Islands
Your cabinet selections depend on the countertop and the purpose of your island; whether it is for meal preparation, seating, or cooking.
How to Make a Countertop for a Kitchen Island
| Material | DIY Difficulty | Approx. Cost/sq ft | Maintenance |
| Butcher block | Easy–Moderate | $10–$40 | Regular oiling required |
| Laminate | Easy | $10–$30 | Low |
| Tile | Moderate | $5–$20 | Grout upkeep |
| Concrete (poured) | Advanced | $15–$30 | Sealing required |
| Quartz/Stone (pre-fab) | Professional install recommended | $50–$150 | Very low |
If you want to create your own countertop for your kitchen island, be sure to consider the maximum size of the slabs or panels you can use before designing your layout. For butcher block, use biscuit joints and glue instead of a visible seam. These details can also complement your kitchen countertop organization ideas by creating a clean, seamless surface that’s easier to keep organized.
Building a Kitchen Island With Cabinets and Seating
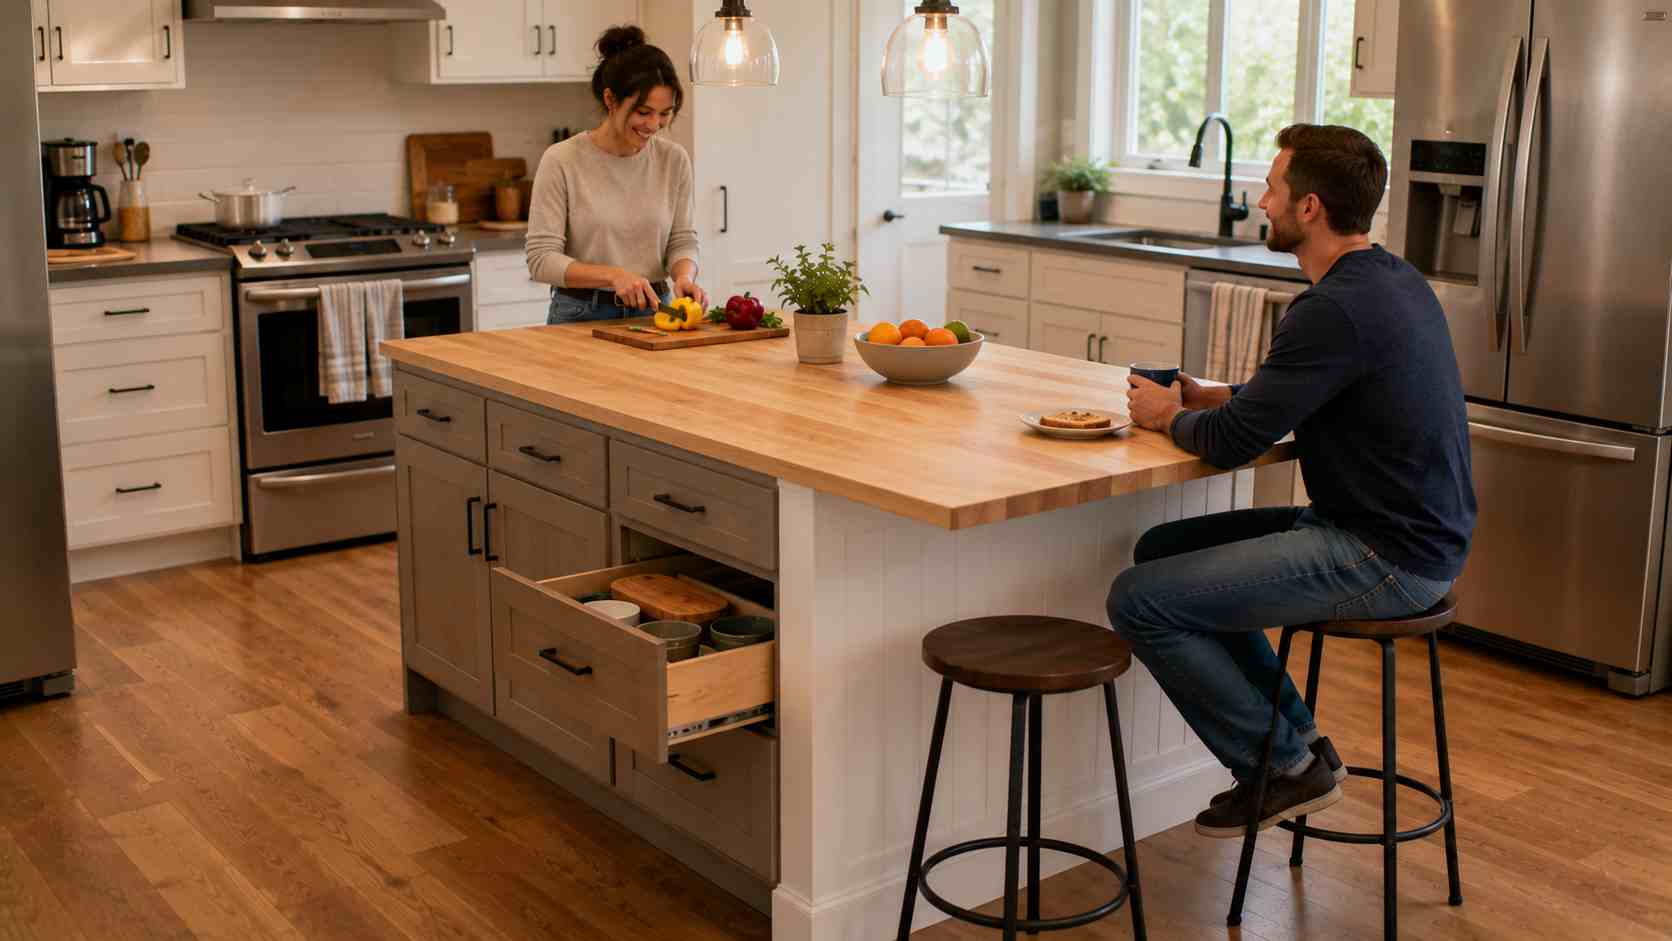
For how to build a kitchen island with cabinets and seating, plan the overhang side first, then build storage around it:
- Bar-height seating (42″ counter) requires a 12″ overhang and 24″ per stool.
- Standard height seating (36″ counter) requires a 15″ overhang and will fit comfortably with plenty of knee room.
- To help avoid stress cracks over time, add a support leg or corbel to any countertop overhang greater than 12″.
How to Make a Kitchen Island for a Cooktop
When determining how to make a kitchen island for a cooktop, keep in mind ventilation and clearance when choosing cabinets:
- Most codes and manufacturer warranties call for a downdraft or overhead island range hood.
- Keep at least 30″ of free space in front of the cooktop to allow for proper cooking access.
- Do not use laminate in direct contact with the cooktop cutout; use heat-resistant stone, quartz, or tile.
- Check gas or 220V electrical needs before cutting cabinetry, mounting electrical outlets, or wiring.
Styling & Decorating Your Kitchen Island
When the build is complete, it is styling that will take the island to completion, not functionality.
Kitchen Island Decor Ideas
Easy kitchen island decor ideas that look great in photos and in real life:
- A wood cutting board leaned against a bowl of fruit or citrus for everyday color.
- A cluster of pendant lights (usually 30-36″ above the counter) as the focal point.
- Lower shelving open, with 3-5 cookbooks and one plant.
Modern Kitchen Island Decor & What to Put in a Kitchen Island
When it comes to modern kitchen island decor, less is more: a single statement bowl, one greenery touch, and the hardware in a single finish (matte black or brushed brass are the two most popular options). When deciding what to put in a kitchen island for storage, make sure you use the deepest drawers for things that you use every day (cutting boards, small appliances, pots and pans) and leave any open shelving for your displays.
Kitchen Island Update Ideas (Upgrade an Existing Island)
Do not wish to do a complete rebuild? These kitchen island update ideas bring new life to an existing element:
- Replace hardware and paint a new color; the easiest and most effective, least expensive change.
- Add furniture legs or corbels to a plain box island for visual lift.
- Use butcher block or a cut-off stone slab from a local fabricator (usually at a reduced price) for the top.
- Under open shelving, provide task and ambiance lighting.
This type of kitchen island remodeling or kitchen island renovation can be done in a single weekend, for under $300, and can be as impressive as a kitchen island redo.
People Also Ask
How much does it cost to build a DIY kitchen island?
The cost is from less than $200 for a furniture-hack or no-cabinet island to $1,000-$2,000 for a complete base-cabinet project with a stone or butcher block countertop. There are three areas with the highest impact costs: cabinets, countertop material, and electrical.
Do I need a permit to build a kitchen island?
Usually, if the island is not free-standing, the addition of an electrical outlet, gas line, plumbing, or cooktop does require a permit and inspection. Please consult local building code before installing utilities.
What is the standard size for a kitchen island?
Most kitchen islands measure 40″ to 80″ long and 24″ to 48″ deep, and should have at least 36″ of space all around (if there is seating or a dishwasher, there should be at least 42″).
Can I build a kitchen island without any cabinets?
Yes, open shelving frames, repurposed furniture, and butcher block tops on furniture legs all make for a functional island without any cabinet boxes.
How do I make my kitchen island look more expensive?
Small trim details do most of the visual work; add furniture legs, corbels, a solid wood or stone countertop, update hardware to a single cohesive look, and add a recessed or decorative toe kick.
What countertop is best for a kitchen island?
While quartz and stone are the lowest maintenance options, they are also the most difficult to make in-house and install; butcher block is the easiest to maintain and warm.
How much overhang do I need for island seating?
Make at least a 12″ overhang; 15″ is noticeably more comfortable to sit for full meals for adults.
Can a kitchen island be portable instead of fixed to the floor?
Yes, if the island is built with locking casters that can handle the full weight of the island, it can be easily rolled out of the way for renters and smaller kitchens.
Conclusion
Learning how to make an island for a kitchen is all about finding a building method that suits your budget, space, and skill level, whether it’s building from scratch, building a base cabinet, or a no-cabinet furniture hack.
Three key takeaways:
- Plan your layout and clearance first; a good island starts with a tape-on-the-floor mockup, not lumber.
- Decide whether to build from scratch, use base cabinets, go on a budget, or go portable depending on time, tools, and permanency.
- Countertop, seating overhang, and styling are what transform a functional box into a finished, designer-look centerpiece.
Ready to get started? Draw your island kitchen design for this week, select your construction approach from the above comparison table, and begin collecting materials for your first weekend of building.