Dull, scuffed floors can hurt the whole room, and 68% of home buyers report condition of flooring has a direct impact on their impression of the value of a home. Knowing how to wax a floor properly is the quickest and cheapest method to get that showroom shine without having to replace anything.
Waxing may seem straightforward for everyone, from a first-time DIYer to a landlord who is responsible for maintaining a rental to a facility owner who is in charge of vinyl composition tile. This typically results in missing steps.
You’ll find out how to wax a floor for beginners, including stripping old wax, selecting a wax for wood, tile, vinyl, or concrete, buffing with or without a machine, realistic drying times, and strip-and-wax costs.
What You Need Before You Start
When using a mop, be sure to collect the proper supplies before you put your hands on it. The top cause of streaky, hazy DIY waxing is the wrong type of wax and/or household cleaners.
Tools and Materials Checklist
- A pH-neutral floor cleaner and a wax stripper suitable for your floor type.
- Wax made for the type of surface (wood, vinyl, tile, concrete; never use a different wax for each different surface type)
- Soft bristle broom or dust mop, and a microfiber flat mop or applicator pad
- Steel wool (fine grade) when there is a hard old wax build-up.
- Use lint-free rags or terrycloth towels for cleaning.
- Rubber gloves, dust mask, and knee pads
- Optional: Rotary Floor Buffer or Polisher (may rent from most hardware stores for $30-60/day)
Reading Your Floor’s Finish First
Not all floors need to be waxed. In most guides, there is no mention of what to do with hardwood that is already finished with polyurethane. Wax does not adhere to a polyurethane finish and will not be refinable, something that most guides overlook. Run a water-drop test: If the water beads up, it’s a surface finish, and you need a compatible polish. If it absorbs within a minute, your floor is bare, oil- or wax-treated, and is an ideal candidate for waxing.
Safety Considerations
Wax strippers are alkaline and may cause skin and lung irritation. Ventilate the room, wear gloves, and never combine stripper with bleach-based cleaners.
How to Wax a Floor: Step-by-Step Process
This is the key technique to use when waxing any type of floor.
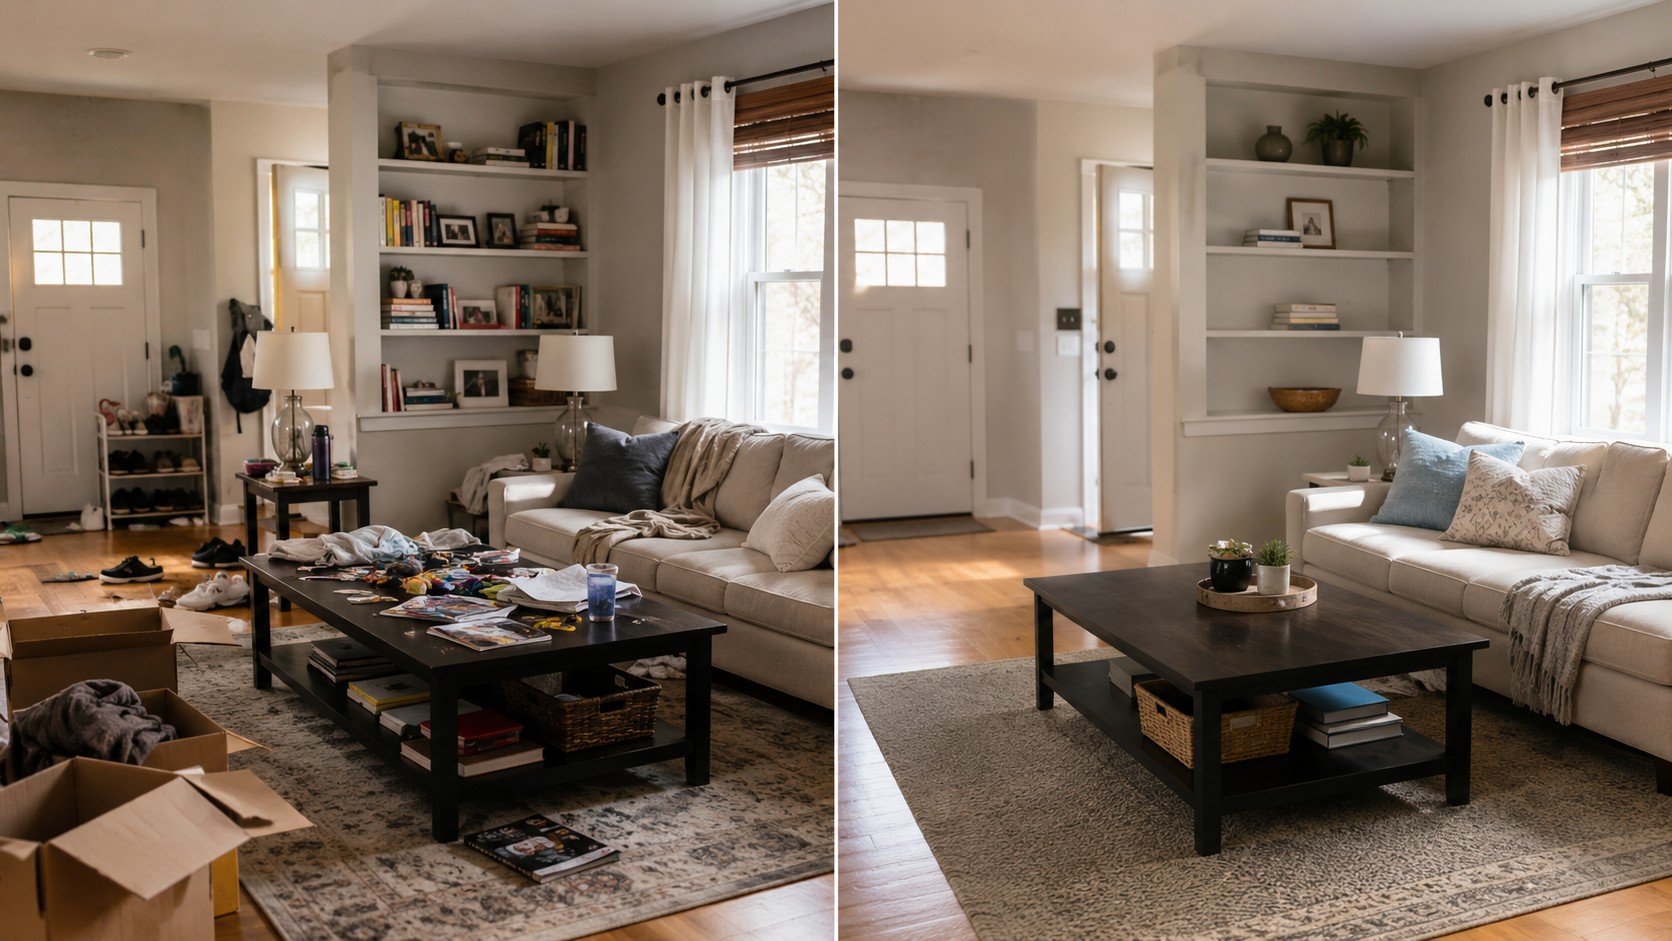
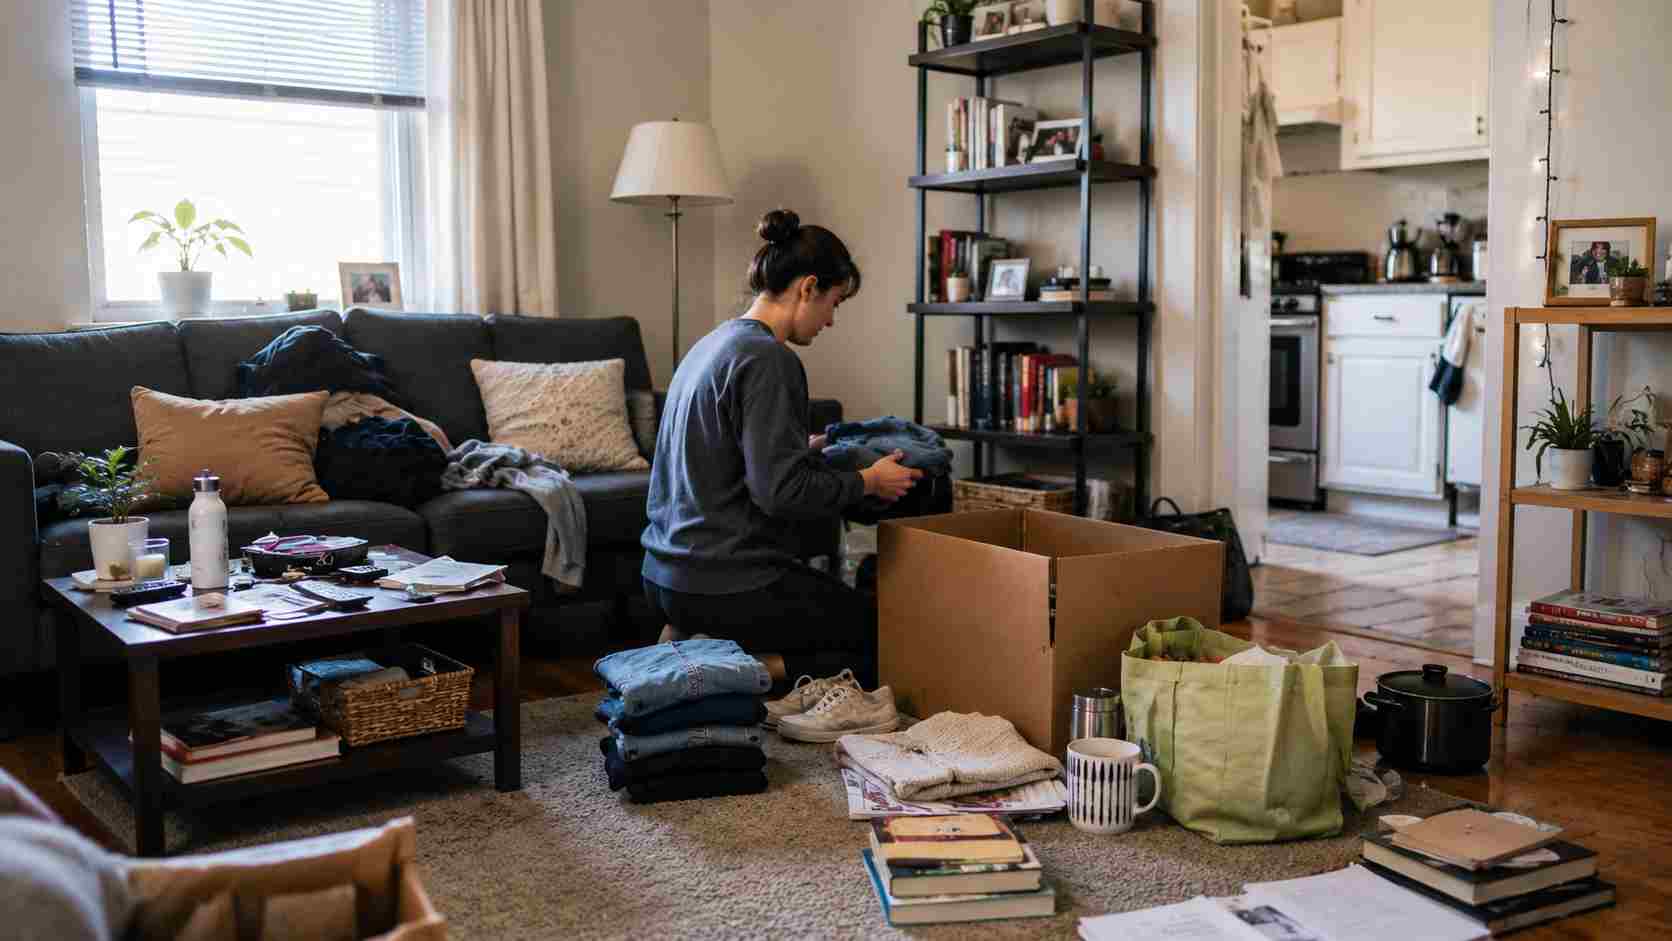
Step 1: Clear and Deep-Clean the Room
Clear off all furniture, rugs, and mats. Vacuum or dry-mop and then damp-mop with pH-neutral cleaner. The wax seals any dirt left behind, resulting in an everlasting dull spot.
Step 2: Strip Old Wax Buildup
Use a wax stripper in 2-foot increments, allowing 5-10 minutes to dwell, according to the label. Rub with steel wool and wipe with a damp cloth to remove all the transfer. Typically, two or three stripping passes are required for most floors.
Step 3: Rinse and Let Dry Completely
Wash with clean water to remove the alkaline residue and allow the floor to dry thoroughly (preferably overnight). Wax will only hold moisture when it is wet and will lead to cloudiness and peeling.
Step 4: Apply the Wax in Thin, Even Coats
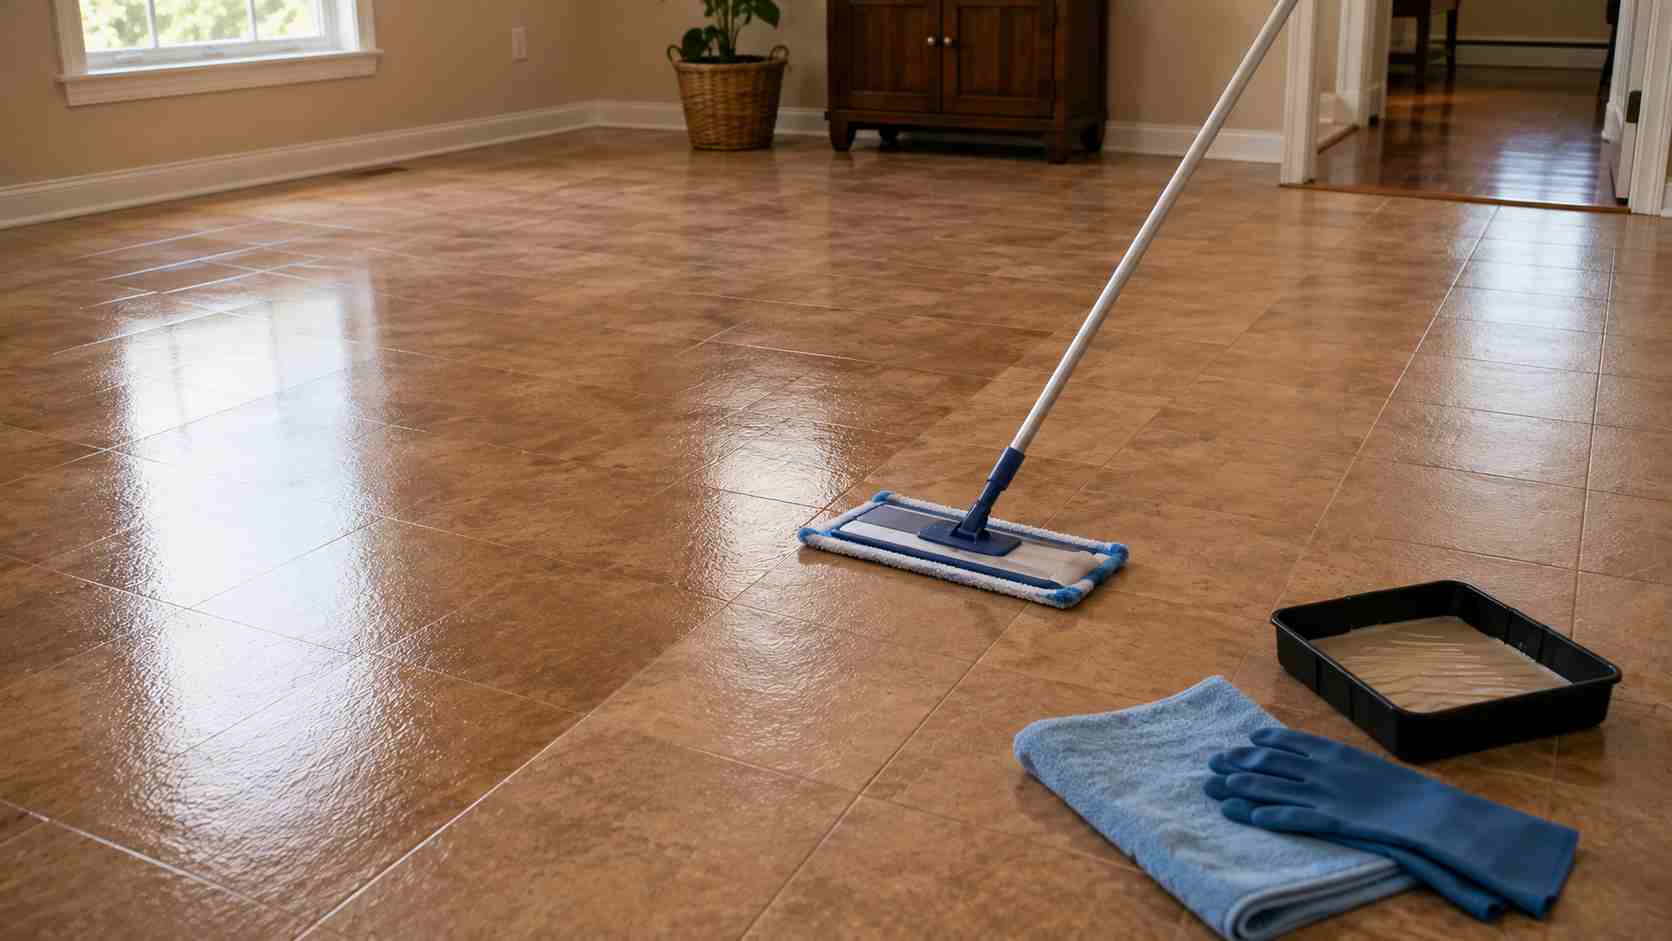
Apply liquid wax to the floor, or spread paste wax onto an applicator pad. Work in 2ft lengths, working with the grain (wood) or in overlapping S-strokes (hard surfaces). Two to four thin coats are always better than one thick coat, as this coat dries unevenly and remains tacky.
Step 5: Buff to a Shine
After it is completely dry, buff with a soft towel or use a white or tan polishing pad and buff using a rotary buffer. To buff fuses, they should be coated together to make them shiny.
Step 6: Let It Cure Before Foot Traffic
Wax will require time to cure even after it feels dry. Do not open the room during this time (more details below).
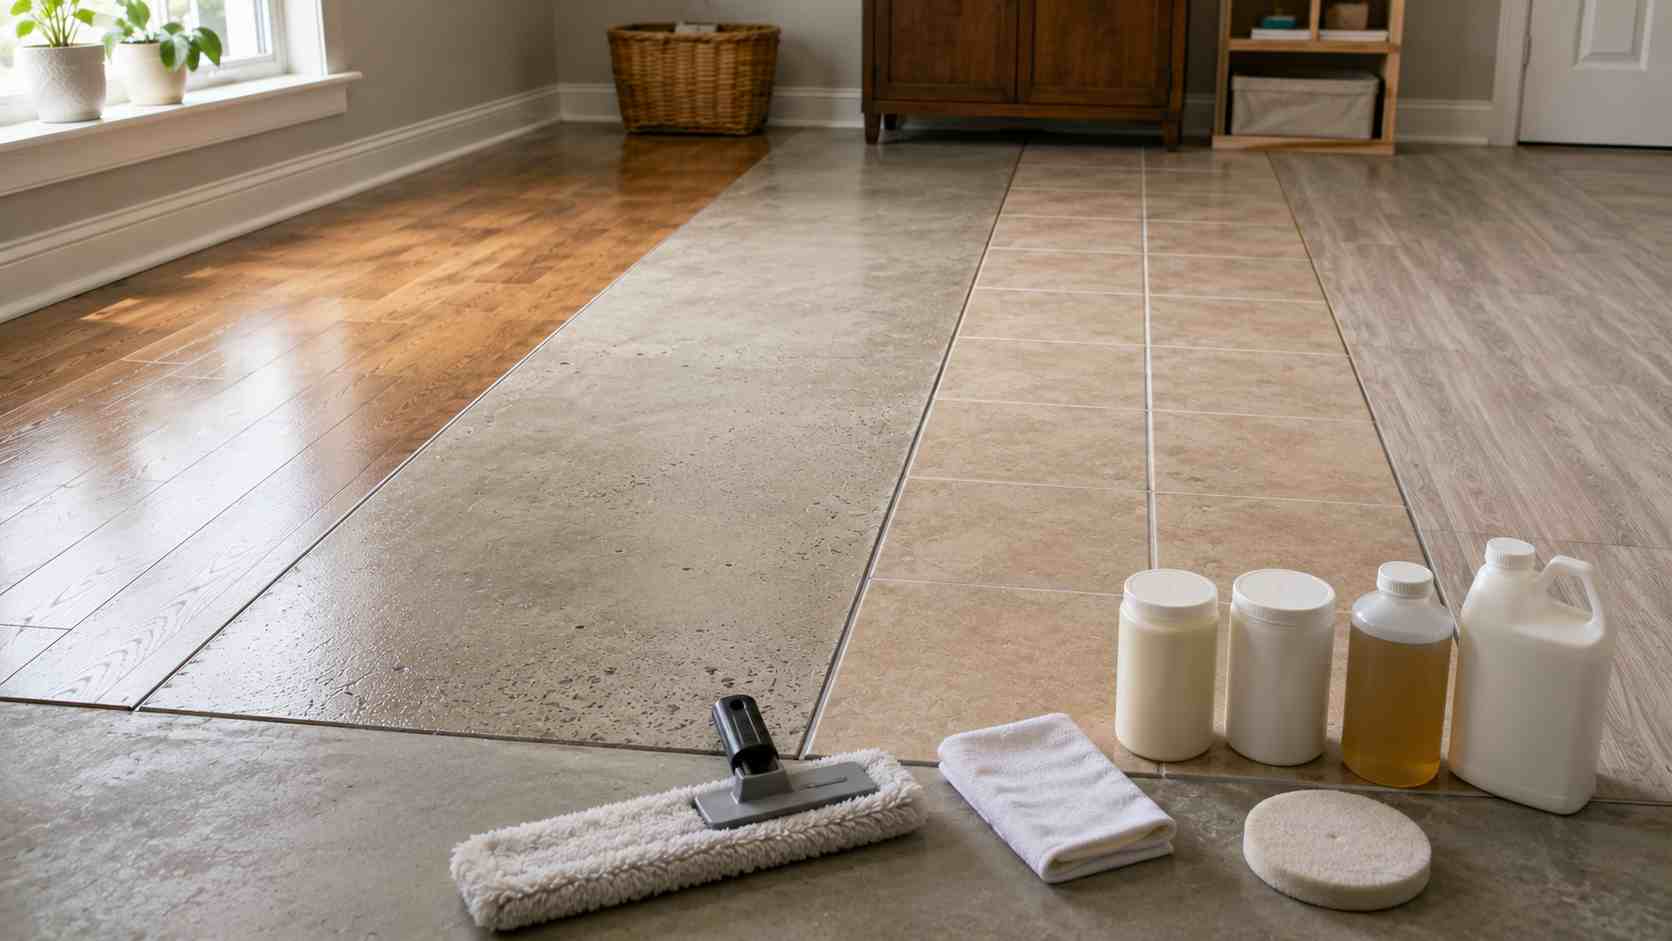
How to Wax Different Floor Types
The material varies greatly in technique and product choice since “floor wax” is not universal. The following is a competition breakdown that few competitors discuss in this amount of detail.
How to Wax a Wood Floor
Apply only solvent-based paste or liquid wax that is labelled for hardwood; NOT an acrylic floor finish. Apply with the grain of the wood, and not over the seams between the boards where it may swell.
How to Wax a Concrete Floor
Unsealed concrete should be treated with a penetrating sealer, then with an acrylic or paste wax. Lightly degrease and etch glossy or previously sealed concrete with a degreaser to provide something for the new wax to adhere to. Porous areas such as garages and basements will require 3-4 coats.
How to Wax a Tile Floor
Acrylic wax will stick to ceramic and porcelain tile, but care must be taken with grout lines because the wax will form a “grout haze” when the wax is applied to the grout lines. Apply with a smaller applicator to prevent wax from getting on grout and wipe off excess within 60 seconds.
How to Wax a Vinyl Floor
Acrylic wax is compatible with standard sheet or tile vinyl. Since the late 1990s, vinyl has become more common, and the “no-wax” vinyl floor has been around for a long time; it is factory-coated with a urethane and should never be waxed. Use a “no-wax” vinyl floor polish instead, which will not build up layers.
Comparison Table: Wax Type and Method by Floor Surface
| Floor Type | Recommended Wax | Application Tool | Typical Coats | Re-wax Frequency |
| Hardwood (unfinished/wax-finished) | Solvent paste or liquid wood wax | Cloth or applicator pad | 2 coats | Every 1–3 years |
| Concrete | Acrylic or paste concrete wax | String mop or applicator | 3–4 coats | Every 6–12 months |
| Ceramic/porcelain tile | Acrylic floor wax | Foam applicator/flat mop | 2–3 coats | Every 3–6 months |
| Vinyl (standard) | Acrylic floor wax | Flat mop | 2–3 coats | Every 2–4 months |
| Vinyl (“no-wax”) | No-wax polish (not true wax) | Flat mop | 1–2 coats | Every 1–3 months |
How to Strip and Wax Floors Without a Machine
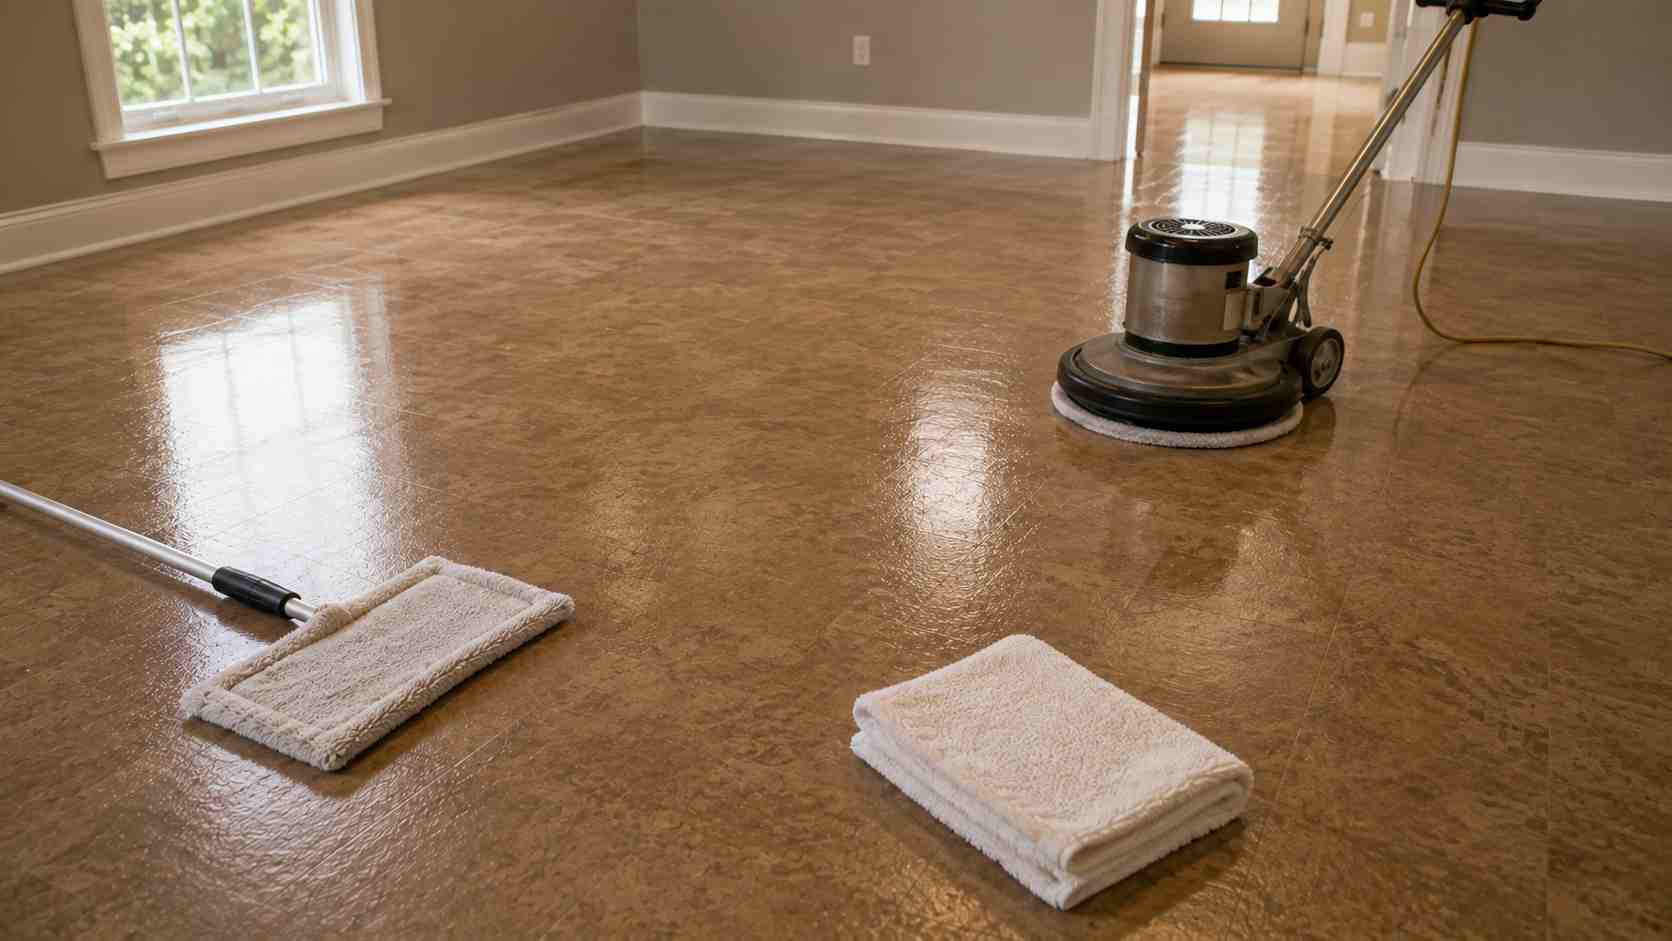
It’s not a matter of renting a buffer to achieve professional results, but rather more elbow grease and patience. This is the easiest method to wax a floor without a buffer in small rooms, apartments, or for a one-time touch-up.
Manual Stripping Technique
Use a stiff scrub brush or fine steel wool pad to work in small (2-foot) sections. Apply pressure firmly, in circular motions, and rinse often to monitor progress against additional buildup.
Hand-Buffing for Shine
Once the wax is dry, take a terry cloth towel and fold it into a pad and buff it in tight circles, then long strokes with the grain. It is significantly slower than machine buffing (2-4 times), but it will yield the same effect: the wax will glaze the surface and become hard and shiny.
How to Wax a Tile Floor Without a Buffer
Hand buffing works well with tile because grout lines can be difficult to maneuver with machine buffing in any case. A long-handled mop with a microfiber pad will save your knees, and use steady pressure in overlapping figure-8 patterns.
When a Machine Actually Pays Off
A rented buffer room will save over 50% of the time for larger rooms and make the surface shinier than the hands can achieve in longer periods.
Drying Times, Timelines, and Costs
The best way to avoid some of the most common waxing pitfalls is to set realistic expectations for the job.
How Long Does It Take to Wax a Floor?
Add up the hours depending on the size of an average 200-square-foot room: 3–5 total hours, which includes 1 hour of prep and cleaning, 1–2 hours of stripping, and 1–2 hours of application and buffing. A bigger or dirty floor can require an entire weekend.
How Long Does a Waxed Floor Take to Dry?
Liquid wax requires 30-60 minutes between coats and 1-2 hours between coats or buffing, while paste wax requires 1-2 hours between coats or buffing. Furniture should not be placed on the floor after the last buff; although the surface may be dry after an hour, furniture should be allowed to cure for 8-24 hours.
How Much Does It Cost to Wax a Floor?
The cost of DIY waxing is $20-60, including purchase of the stripper, wax, and applicator pads for an average-sized room. A buffer is available and is an added expense of $30-$60 per day.
How Much Is It to Strip and Wax a Floor Professionally?
The average price of professional strip and wax service is $0.50 to $3.00 per square foot, and most companies charge a minimum of $250 to $500, no matter the size of the service. Large open commercial spaces (such as VCT tile in a warehouse) tend to be lower-end, because the fewer obstacles there are, the more efficient labor can be; offices with many corners tend to be more expensive per square foot.
Comparison Table: DIY vs. Professional Strip-and-Wax
| Factor | DIY | Professional |
| Cost (200 sq ft room) | $20–$60 | $100–$600+ |
| Time investment | 3–8 hours (your time) | 1–3 hours (their time) |
| Equipment needed | Optional buffer rental | Included |
| Consistency of finish | Good with practice | Excellent, uniform |
| Best for | Small rooms, tight budgets | Large spaces, businesses, time-strapped owners |
Making Floors Shine: Polishing and Maintenance Tips
The right follow-up habits help maintain your waxed look after the initial waxing.
How Do You Make Hardwood Floors Shine Longer
Dust mop once a week and do not use ammonia or vinegar cleaners on waxed wood, as these cleaners will weaken the wax and require replacement too soon. The scuff marks that make wax look dull can be prevented by using felt furniture pads.
How to Make Dull Ceramic Tile Shine Again
If the tile is dull but not too worn, simply applying a new coat of acrylic wax to the clean, dry tile surface is usually sufficient. If the tile has 3 or more layers of old and yellowed buildup, stripping is necessary.
Best Way to Polish Hardwood Floors Between Wax Jobs
Fill in small scratches and scuffs every month with a wood-safe spray polish and a microfiber mop, thereby delaying strip and wax jobs for months.
Reviving a No-Wax Vinyl Floor
Polish for no-wax vinyl floors restores the gloss to no-wax floors without the buildup that can occur with wax. Apply a light coat, allow it to dry according to label directions (typically 30-45 minutes), and never apply more than 2 coats of paint without deep cleaning in between.
FAQ: Frequently Asked Questions
How many times a year must I wax the floors?
The frequency of re-waxing most floors is determined by material and traffic, ranging from 3 months to 3 years. While high-traffic vinyl and tile require waxing every few months, hardwood in low-traffic areas may be waxed once a year or more.
Is it okay to wax on polyurethane-finished hardwood?
No. Wax will not adhere to polyurethane and will leave a cloudy residue, which will hinder refinishing. On these floors, use a floor polish that is compatible with urethane rather than a true wax.
Which type of wax is preferable, liquid or paste?
Paste wax is more durable, produces a greater shine, but is more labor-intensive. Liquid wax is the easiest and quickest solution for novices and will be the most effective method for waxing a floor for first-timers, although it may require more reapplication.
Is it possible to strip and wax a floor without any machine?
Yes. For rooms less than about 300 sq. ft., manual stripping and hand-buffing with steel wool and a folded towel will work but will take longer than machine buffing.
Why is my new waxed floor cloudy?
Cloudiness is typically caused by applying the wax too thickly, over moisture, or without completely removing the previous wax application. Strip back to bare floor and reapply in thinner layers.
For how long should I refrain from walking on a newly waxed floor?
Replacement of furniture and/or heavy foot traffic should be avoided for 8 hours or longer, preferably 24 hours, after the surface has been cleaned.
What’s the difference between floor wax and floor polish?
Wax creates a removable protective layer that must be removed periodically, and polish is used on no-wax vinyl and urethane-finished wood, providing shine without layering, which requires stripping.
Do I need to strip a floor every time I wax it?
No. Light maintenance coats can be applied to existing wax when it is still in good condition. Full stripping is only required at regular intervals of several maintenance cycles, when buildup begins to turn yellow or dull.
Conclusion
Once you know the order (deep clean, strip thoroughly, apply thin coats of wax, buff, and cure fully before using), it’s not difficult at all to wax a floor. Here are three things to keep in mind: match the wax type with the type of floor, don’t ever skip the stripping step, even if it’s a “quick touch-up,” and allow freshly waxed floors 8-24 hours before they are walked on again.
These same basic steps will be followed, whether you’re dealing with hardwood, tile, vinyl or concrete, and whether you’re using a rented buffer or simply elbow grease and a towel. Ready to get started? Pick up your supplies from the above list and start painting one room this weekend. You’ll notice the difference with the first coat!